
An image without processing is like a dish without any spices. It might taste OK, but you want better than that. You want it delicious.
Lightroom is my go-to software when it comes to improving my images. Not only is it streamlined and easy to use, but it also processes images in a non-destructive way, allowing you to readjust your settings without the fear of making permanent mistakes and losing your files.
Here are two examples of photos I processed in Lightroom and sold on stock and print:
1. Tanzania Landscape
The first thing that I always do before starting to adjust the sliders is to analyze the photo and figure out what needs to be improved.
In this photo from the Serengeti in Tanzania, the composition works well. It is following the rule of thirds without any distractions around the frame or the background. However, the main issue is the overexposed hazy sky which barely contains any details or colors.
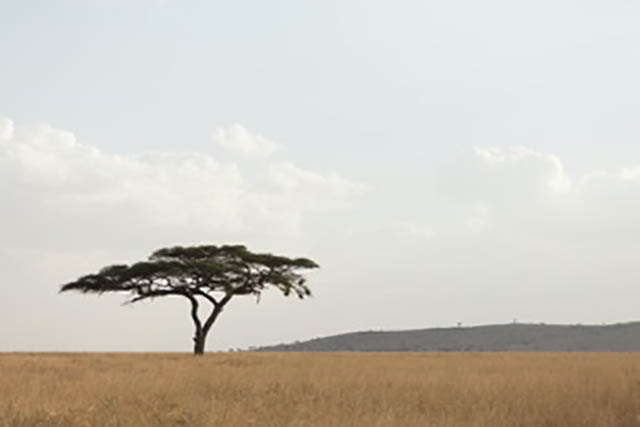
Fortunately, RAW files carry a lot more data and information in the blown out areas than it appears.
A quick adjustment of the highlights, black, and white sliders toned down the brightness of the sky and brought back some details in the clouds.
Since there was a lot of dust in the air, I used the Dehaze slider to remove some of that haze as well. Not only did it recover details, but it also saturated the blue color of the sky.
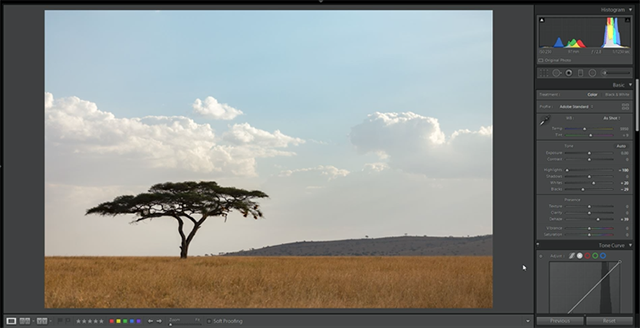
At this stage, the photo already looked much stronger than the starting point, but I wanted to take it a little further by adding some colors and enhancing the light with some of the filters.
Using my favorite way of improving colors, I adjusted the sliders in the Split Toning panel to add a touch of blue color in the Highlights, and some orange in the shadows. This enhanced the tone of the sky and made the dry grass look more vibrant.
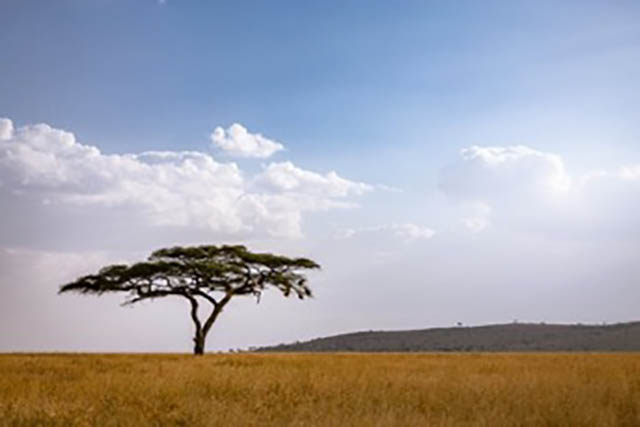
As a last touch, I added a radial filter on the top right corner to brighten the area and made it look like the sun’s glow was shining through the clouds.
2. Dubai Cityscape
Lightroom is a great software to adjust brightness and colors in your RAW files, but it’s also a very useful tool to fix lens distortion when it comes to architectural shots.
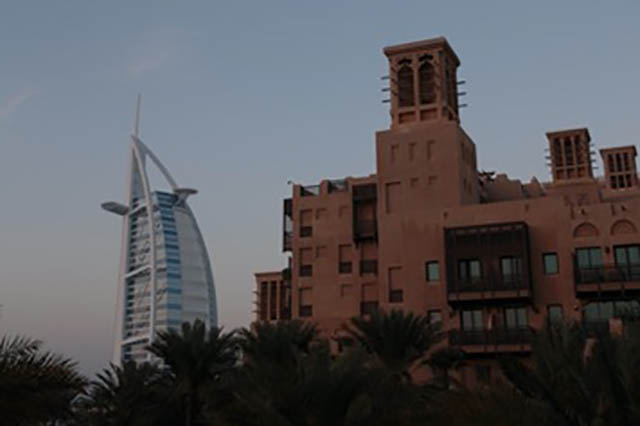
I took this photo on a dusty evening in Dubai. The exposure is off and the colors are completely dull. Also, due to the wide-angle lens I was using, none of the buildings in the photo are straight.
By scrolling down to the Transform panel and adjusting the Vertical slider, I got rid of the lens distortion and straightened every vertical line on the Burj Al-Arab hotel in the background as well as the traditional buildings in the foreground.
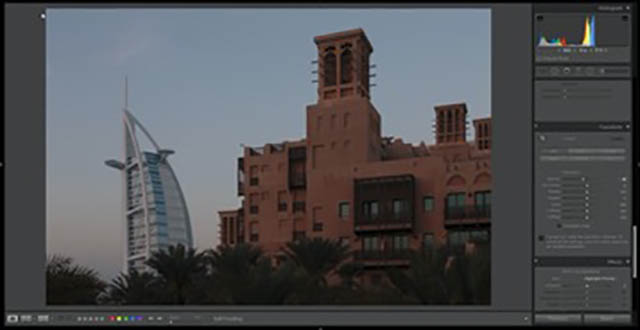
But since the photo still looks dark and uninspiring, I used the exposure and contrast sliders to adjust the brightness, and added some vibrant colors to the sky and the buildings using the Split Toning tool.
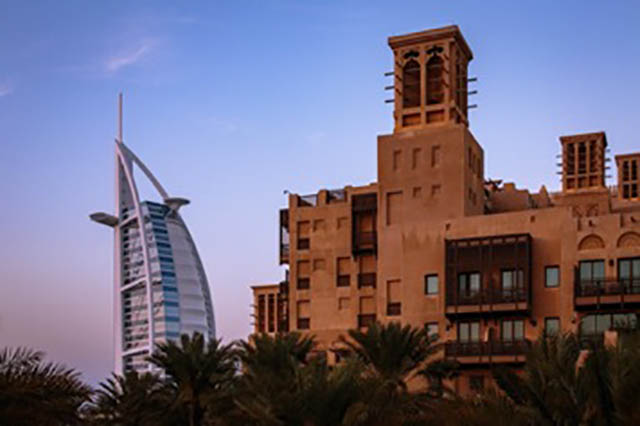
The end result is a much more interesting and vibrant photo that pops, and I was able to sell a couple of prints to clients in Dubai.