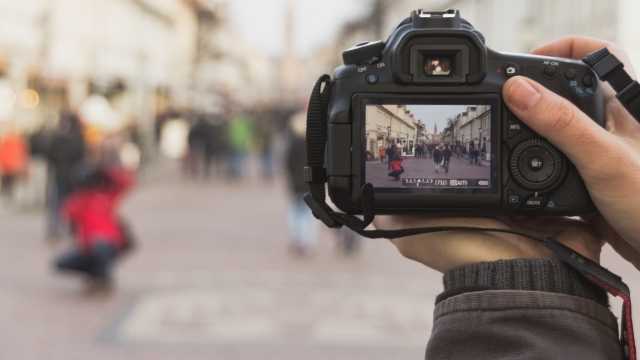
The best articles always have an enticing headline, a tantalizing leading paragraph…and an awe-inspiring photo to perfectly complement your wordsmithery!
I’ll let you in on a little secret: sending your editor photos to accompany your story pitch will 100% increase your chances of publication. Gone are the days when you could be just a travel writer or just a travel blogger. Nowadays it’s important to be able to provide both in order to land more jobs.
While high-end glossy magazines and publications may have the resources to hire both a writer and a photographer for a piece, most jobs you get won’t. When you’re starting out and writing for local or smaller niche publications you’ll land twice as many gigs if you can provide your own high-quality photographs that complement your writing.
When I’m pitching an article, I’ll automatically offer a selection of high-resolution photographs to accompany my work. Having your own travel photographs will also work to enhance your story. You’ll know that what’s being published is relevant and authentic rather than some random photos your editor picked out from a stock image site.
With the ability to take compelling photographs and write killer copy going hand in hand, it’s time to level up your content game and start shooting some amazing photos—and here’s how:
1. Tell a story.
First and foremost, your goal is to take photos that will help you to tell a story. Before clicking the shutter ask yourself what story you are trying to convey and does this shot tell that story.
Remember that when you’re taking a photo, you’re experiencing it then and there; you know all of the surrounding sights, smells, and sounds, and, hopefully, when you look back on that photo it will all come back to you. Your job is to try and transport your readers to that place and bring all of that background context to life.
2. Focus on the unique.
You know when you see those photographers lying on the ground wondering over something that you’re not seeing or the ones running to the top of a bridge to get a completely different angle? That’s the stuff you want. Don’t just take the most obvious photos of your subject. Create something unique to show off your location in a different way.
Keep an eye out for quirky, colorful, unusual, or cultural elements to include in your photos. After all, your aim is to try and give people an idea of the feeling of a place through your photos.
3. Get it right on camera first.
While the editing process can help correct mistakes and improve images, you can’t always salvage a photo. Your post-production won’t be able to fix bad or extreme exposure, a slow shutter speed that causes too much blur, or—probably the biggest killer—poor lighting. If your photos are severely under or overexposed, too grainy, or badly framed, editing can only get you so far. Do some research on the camera you’re using and learn all of the technical ins and outs so that you’ll know what to adjust when you’re out in the field.
When you’re traveling it can also be a good idea to do some research into the sunrise and sunset times of your location. This will give you an idea of when the best lighting will be. As an added bonus, there’s usually far fewer crowds and interruptions on a sunrise photography expedition.
4. Post-production.
As I mentioned earlier, the editing process can take your images from mediocre to amazing with just a few adjustments. These days there are so many different apps and editing tools you can use to help you edit your photos. Arguably the most popular, and my favorite, is Abobe Lightroom.
Lightroom allows you to tweak all of the elements of your photos including exposure, contrast, color mixing, and saturation.
You can also purchase Lightroom presets which are filters that you can add to your photos in just one click. What I love about presets is that you can still adjust things slightly as needed so that the same preset can work perfectly on different photos. Using Lightroom presets is one of the quickest and easiest techniques I use to enhance the quality of my photos.


