Although there are many good articles published with no pictures and just as many excellent photographs that need no words, in today’s visual world, writing and photography go together. Editors want photographs to accompany your articles.
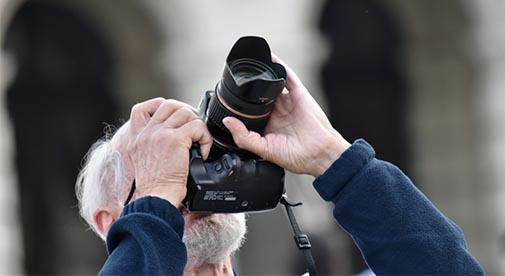
Understanding how to take the right kind of photographs then has become key to selling your articles to magazines. The first requirement is to have the right equipment. Today, most magazines only accept digital images. You can use a variety of cameras to take your photographs. Editors expect the results to be clear, sharp quality images. Digital images should be submitted in high-resolution format, preferably 300 dpi. Photos taken for online use need be only 72 dpi. While this is sufficient to look good on screen, low resolution 72 dpi images don’t reproduce well in print.
When working on an article, take lots of pictures. Change the angle, distance, and exposure. Provide enough photos so the editor has a large enough selection to choose from. Most editors like a variety of horizontal and vertical shots as this gives the graphic artists more variety when they’re laying out the story.
Having the right photos can mean the difference between selling your article and getting a rejection notice. The purpose of your photos is to either complement or highlight specific points of an article.
You should think about the accompanying photos early in the writing process. When doing your preliminary research on the subject, note the kind of pictures that accompany the articles in your research materials. Create a shooting list of possible locations and situations you want to photograph. Doing this will save valuable time during your trip trying to decide where to go and what to photograph to accompany your article.
While doing this for travel articles is relatively easy, what about for a general interest article? One article I wrote, published in a Christian magazine, discussed teens that felt lost and alone in life. I submitted a photo of a silhouette of a young person walking on a beach alone. Another photo showed a person sitting on the curb, elbows on their knees, and their chin resting in their hands, looking down an empty street. The purpose of such photos is to show the theme of the article through your pictures.
When submitting photos, deciding the number to include in a submission depends on the nature of the submission. Longer articles such as features will often require more photos, while a short article might only warrant one or two. Because 300 dpi images are large files, they are often too big to send as attachments with emails. I use Adobe Lightroom to create a PDF “contact sheet,” which is a single page containing smaller versions of each image you are submitting.
Once the manuscript is accepted, the editor reviews the contact sheet. The result is usually a request for you to send a specific selection of your high-resolution images to the editor using a method they will specify. Dropbox, WeTransfer, or the publication’s own FTP method are examples.
Always keep careful records of what submissions are at which publishers—this includes the photographs. Without a submission tracking system, you can easily lose track of what went where.
With the right article, along with the proper accompanying photos, you’ll be well on your way to wowing magazine editors and getting your submissions accepted.