Whenever I teach photography courses, the topic that garners the most interest—and questions—is blue hour photography. What is it and how is it done?
Blue hour photography is an advanced technique of photographing at dusk; photographers set their cameras on tripods and use a slow shutter speed to allow normally weak ambient light the chance to grow stronger.
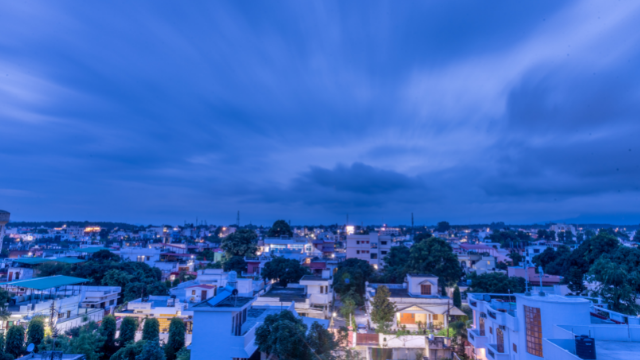
If you’ve ever seen photographs of a city at night, those richly saturated images where the night sky is a deep sapphire, the city lights are warm, and windows and neon signs seem to glow, chances are you’re looking at a blue hour photo.
Blue hour photography requires a camera that can photograph with a shutter speed greater than five seconds and a solid base to rest your camera on like a tripod or table.
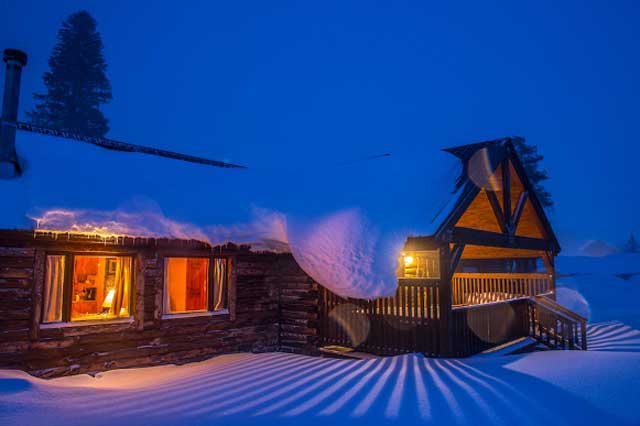
Choose your subject wisely. Cityscapes, buildings, houses, cabins, streets—all these subjects are outdoors and have ambient light from interior lights, illuminated signs, and streetlamps. Arrive at your destination early, before sunset.
Set your camera on a tripod and frame a composition that includes both the artificial world of buildings and streets and the night sky. Put your focus, shutter speed, and aperture controls on manual. Set your shutter speed on five seconds (a good place to start) and your aperture on a wide (lots of light) aperture somewhere in the range of F2.8 to F8. I tend to use a low ISO of around 200 to 400 to avoid creating digital noise.
Once you have your lens focused, put a bit of gaffer’s tape (tape that doesn’t leave behind a sticky residue when you remove it) on your focus ring so that you don’t accidentally turn it. It is extremely difficult to focus a camera when your scene is dark.
Now you wait. Wait until the sun goes down and most of the sunset photographers leave. Wait until the color fades from the clouds. Wait until the sky begins to turn a deep blue. Your goal is to make pictures during the dusk light, roughly between the time the first stars appear and the time the sky turns black.
Blue hour isn’t really an hour at all. The amount of time you have available depends on your latitude. If you’re shooting in Quito, Ecuador, where the sun descends straight down to the horizon, then your blue hour might last ten minutes. If you’re shooting in Fairbanks, Alaska, just south of the Arctic Circle where the sun goes down at an angle and takes more time, you might have 30 minutes of blue hour.
There is no secret time-to-aperture formula. Just start taking images and see how they look. As the scene darkens, increase your shutter speed. I don’t generally use shutter speeds longer than a minute; my best images seem to come in the 20 to 45 second range. If you need to maintain a shutter speed under a minute, you can always bump up your ISO. The key is to practice, practice, practice and shoot a lot. Every scene is different.
One of the great secrets of blue hour photography is that the warm orange lights and rich blues aren’t affected at all by bad weather. Blue hour photography is a terrific trick to have in your pocket when you’re on a tight assignment and all you’re getting are rainy days and gray skies. Shoot a city during the morning light, in the late afternoon, and then the blue hour. Your editor will be happy to have the range of choices and you’ll demonstrate you’re a photographer with technical skills.