Bonnie, here.
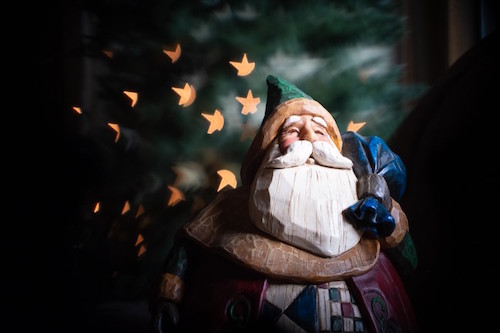
Yesterday, we sent you an article from Deborah Kolb with this fun holiday photo she took in it:
She mentioned that you can make shapes in the background of your image by placing a piece of paper with a shape cut out of it in front of your lens.
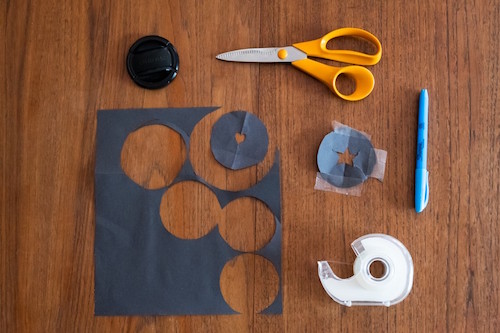
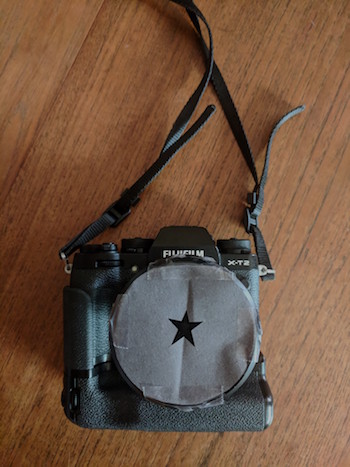
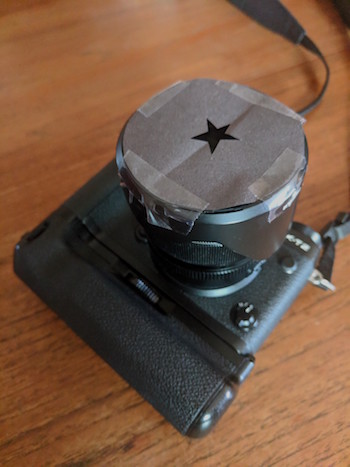
It sounded easy enough, so I cut a star out of black construction paper and taped it to the front of my lens, like this:
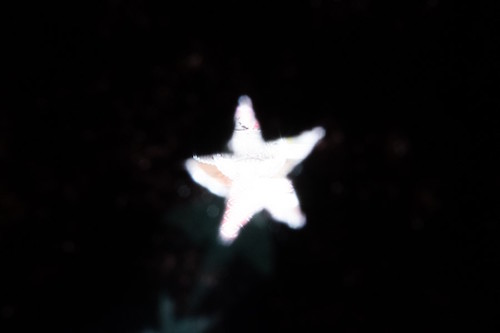
Here’s how my first shot turned out:
Not exactly what I was going for.
Here are some things I learned while playing with this trick:
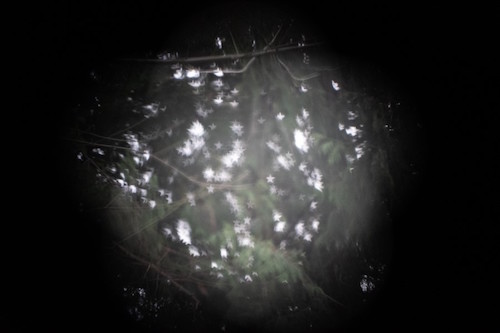
1. This only works when your lens is set to the widest aperture possible. Most people do it with lenses that go all the way down to 1.8. I opened up my aperture as wide as it would go on my lens—which is 4.5. Ah-hah! Now, if you look closely, you can actually see little star shapes in the background:
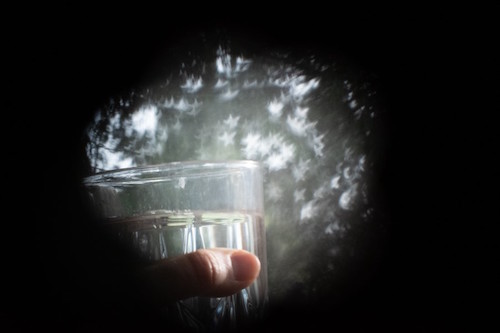
2. The shapes only show up on points of light in the photo that are out of focus. Have a look at this shot where I’m focusing on a glass (no stars) and the background is blurred out (with stars!)
3. Zooming helps. Not only will this blur the background (producing the shapes), but it helps get rid of that dark circle, too.
Finally, I turned on the Christmas lights on the tree… opened up my aperture as wide as it would go… zoomed in with my lens… focused on an object close to me…
And got this:
Settings:
Fuji X-T2 camera with 18-55mm kit lens
Aperture: f/4
ISO: 800
Shutter speed: 1/50 sec
In the end, I also learned that the lens I was using doesn’t work especially well for this trick. But the moral of the story is this: Play!
When your photos aren’t coming out the way you want… play!
When you don’t know why your settings aren’t working… play!
When you don’t like how the composition of your photo is turning out… play!
If you want to try this trick, play with a number of different lenses to see which one works best. You may also need to fiddle with the size of the shape you cut into the paper disc.
You can also buy kits with pre-made discs.
The biggest trick to learning photography is to try a lot of things, mess up, and finally get an image that you like.
The more you try and play and experiment, the more you get to know your equipment… and the better you’ll be once you’re out in the field and need to act fast to get a shot.

