One of the fastest and easiest ways to increase your value as a travel photographer—and boost your income—is to develop your visual storytelling skills.
When I first started photographing stock for National Geographic Creative 15 years ago, my editor encouraged me to think in terms of developing stories, rather than focusing my efforts on making single, great images.
“It’s simple economics,” she explained. “If you go to Tahiti and come back with dozens of pretty pictures, we can sell them each for a couple of hundred dollars. But if you go to Tahiti and come back with a half-dozen stories—photo essays built around themes like pearl farming, overwater bungalows, traditional sailing navigation—we can sell each of those stories for thousands of dollars.”
It made sense to me. But what kind of images go into making a visual story?

Shooting for National Geographic, I quickly learned there were nine key elements to every travel story, nine images that an editor needed to put together a 12-page layout in a magazine.
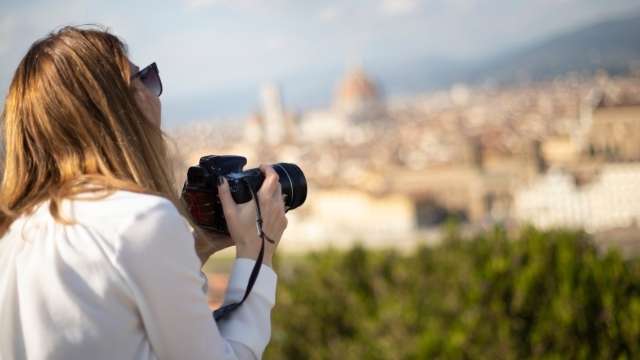
Three of the images are used to frame the story: they open the story, create the climax, and close the story. Not surprisingly, the first image is called the opener. This is the establishing shot, often a two-page spread, that usually shows a big, beautiful landscape, seascape, or cityscape. Its job is to tell the reader “here’s where I’m taking you.” For a story on hiking the Grand Canyon, an editor would want to see a sweeping panorama of the canyon from the rim, perhaps with some backpackers gearing up on a rocky ledge.
Halfway through the story comes the most important image, the hero shot. Again, it’s frequently a two-page spread. But unlike the opener, it is meant to reveal the climactic moment of the story. If you’re shooting a story on climbing Kilimanjaro, the hero shot is going to show climbers summiting at sunrise.
The final shot that bookends every story is called the kicker. The kicker often runs a full-page or less and almost always has a mellow and quiet tone. If your story is about a tall-ship voyage through the Caribbean, the kicker might show a couple leaning over the railing, enjoy cocktails at sunset. The idea is that this photo provides a visual conclusion to the story.
Spread out between the opener and the kicker are a series of six images that all support the overall story by showing the viewer different aspects of traveling in the destination. Any travel story should include images of transportation (how did you get there, and how do locals get around?), people (what is life like here?), nature (flora and fauna), visitors (where do visitors stay and what do they eat?), scenics (what can you expect to see there?), and details (these are simple images of things like traditional tools, street signs, architectural flourishes).
Not long ago I was contacted by a Caribbean tourism board. I had spent some time on their island years ago and had taken my editor’s advice on storytelling to heart. The board was looking for a couple of beautiful photographs of beaches to add to their digital library. I sent them the pretty beach shots, but I also sent them a collection of images around birdwatching, one of the country’s main attractions. And I let them know I had at least six more story-themed packages available.
Their response was instantaneous. “Send them!” They quickly purchased stories on exploring the island’s pirate heritage, snorkeling and diving the reefs, celebrating a traditional carnival, learning about local bush medicine, and dining on local cuisine. Had I just wandered around the island making pretty pictures I might have made $1,000 in licensing fees for a couple of images. But thanks to the power of storytelling, I was able to license more than $10,000 worth of images that day.