 Whether you’re submitting a feature article for publication, a 200-word blurb, or something in between, your goal as a travel writer is the same: Get the editor to say “Yes.”
There are many ways to accomplish this, including researching your subject thoroughly and editing your work carefully. But another great way to get your article accepted is to include photographs to illustrate your piece.
Editors are busy folks who review literally thousands of submissions a year, including many from writers who have never been published. If your submission includes not only a well-written article about an engaging subject but photographs to boot, your chances of being published will increase substantially. After all, you have saved the editor the additional job of either finding images for your article or hiring a photographer. As an added bonus, in many cases, you will get paid for both the article and the photos. What’s not to like?
Here are some steps you should take before heading into the field to take pictures to illustrate your article:
1. Research the style of the magazines you’d like to pitch. Thumb through some previous issues to become familiar with the types of photographs they favor. Most travel magazines publish traditional images (think National Geographic), but others are more edgy and prefer overexposed or high-contrast images. Just as you want to approach publications whose writing style fits yours, your photos need to fit as well.
2. Obtain a copy of the publication’s submission guidelines. These are the instructions you’ll need to follow when it’s time to send your submission. They are typically found on the publication’s website. The guidelines include information such as the type of images they’re looking for, the file format they prefer (TIFFs and JPGs are common), payment terms, and more. There are no universal standards for submission guidelines, so make sure you read (and follow) them carefully for each magazine before submitting your work.
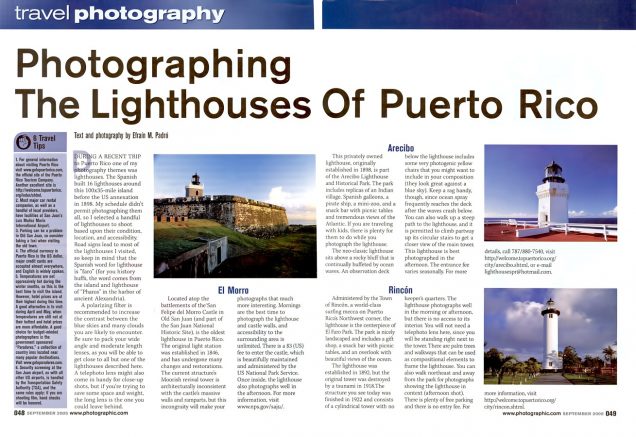
3. Prepare a rough outline of your article. Having an outline will help you decide which subjects to photograph. By way of example, a few years ago, I wrote an article about the lighthouses of Puerto Rico. It was eventually published in both Photographic Magazine and Lighthouse Digest. Before my trip, I researched which lighthouses were in the best shape and wrote a rough outline of the piece; this prepared me for the next step.
4. Draft a shooting list. This is especially helpful if you’re writing a feature article with lots of subjects. But even for a short piece, you should have a list. You’d be surprised what you forget when in the field—having a checklist will help to prevent any missed opportunities. (Keep in mind the three types of photos that best illustrate your travel story.)
5. Put it all together. Once home, it’s time to write your article and select your best images to illustrate it. During the editing process, keep in mind that less is more. Editors do not want to review 100 images of lighthouses (or anything else) that start looking the same after a while. Include 20 images (give or take) with your submission and give the editor choices in terms of verticals, horizontals, detail shots, etc. They will be grateful for the choices.
Although there are no sure-fire ways of getting your work accepted for publication, submitting an article with photographs will go a long way toward an editor saying “Yes” to your submission… and often, it will increase the pay you receive for the article.